This is part two of our basic weapon swaps in Blender overview. You can find the first part here.
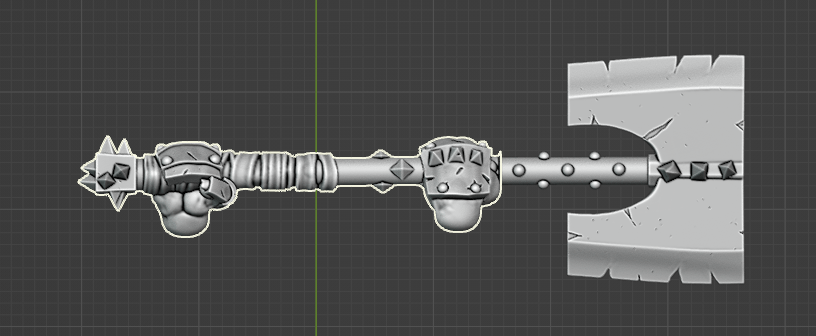
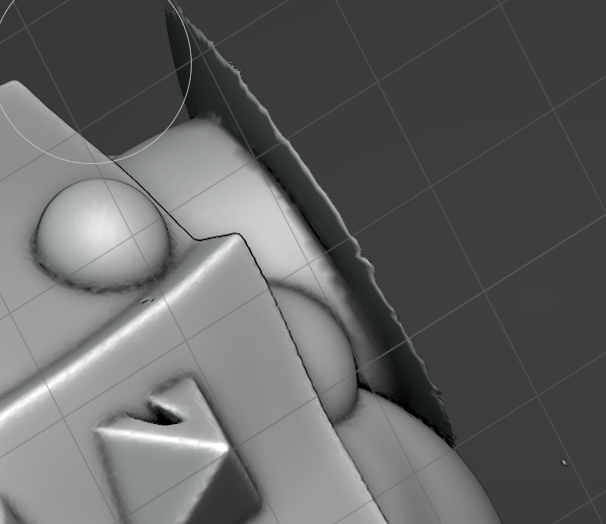
During Part 1, we had some leftover mesh after using the Box Mask to remove the weapon head (see below)

As we mentioned then, methods to fix this can include remeshing and smoothing away, additional masking and cutting away, or adding additional model items to cover. We’ll cover each in turn and then show the results.
Remeshing and smoothing away
First select the item to edit and hit the / key to enter local view.
Then switch to Sculpt mode

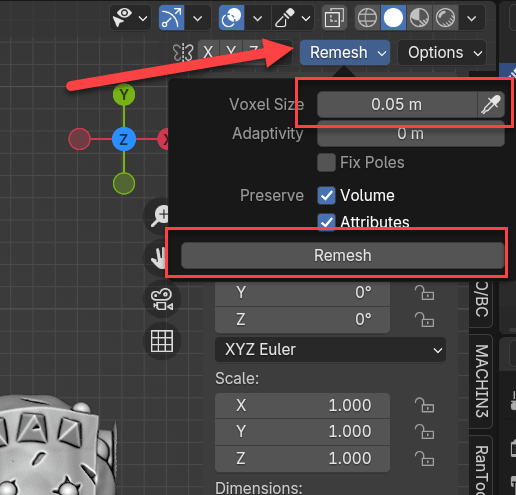
In Sculpt mode, we are going to Remesh the object. A voxel size of .05m should work. Change and hit Remesh (depending on your system, you may here the CPU spin up higher)
Use the Smooth brush to smooth away the extra mesh/geometry. You may need to remesh again several times while smoothing.
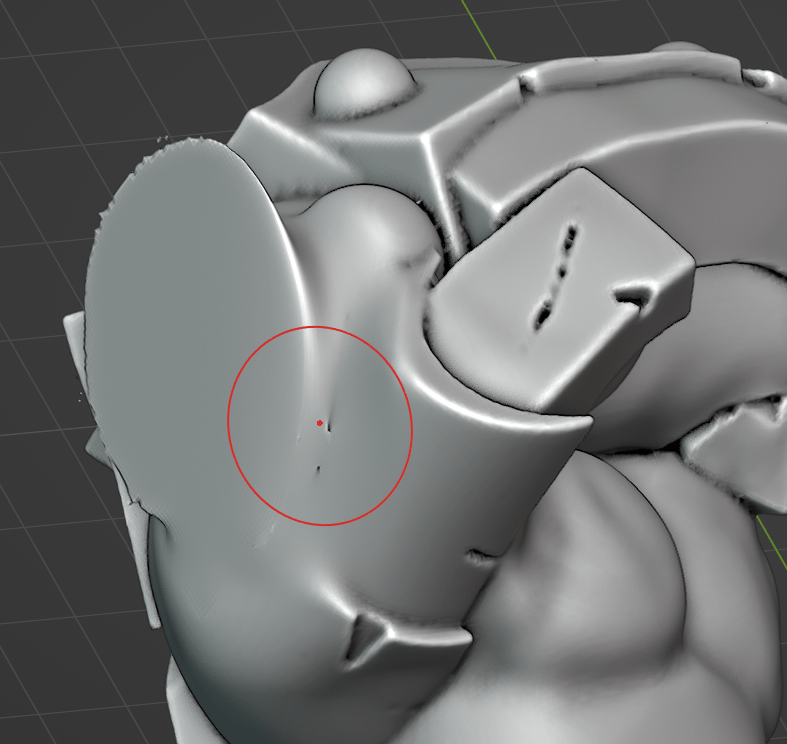
After smoothing, we have an okay result, but not super. The original leftover mesh was overhanging, so smoothing away wasn’t optimal choice.

Hit / key again to exit local mode and check the fix. Again, not bad, but not perfect. Let’s see how method 2 does.
Additional Masking
Select your item as above, enter local view (/ key) and enter sculpt mode. Then use Box Mask tool to select additional mesh to cut away.

Switch to the mask brush, set to 100% strength and paint away more mesh. Unlike the box tool, the paint tool only selects the surface side, so you will need to rotate and paint until all the mesh is selected.
When you think you have it right, Mask Slice and Fill holes

Not bad, we have more detail left over (specially around the thumb).

Clear the mask

Then remesh (as in Method 1) and smooth away to get a better final product.

This looks a lot better, but the join between handle and hand still seems off a bit. Let’s try method 3.

Adding items to cover
We are going to start in Object mode for this method. Enter local view (/ key) and then hold down shift and right click as close to enter of the work area as possible. This will move our cursor to there. This will be important when we add a new item.

Click Add, then Mesh, then Torus to add a new Torus object.
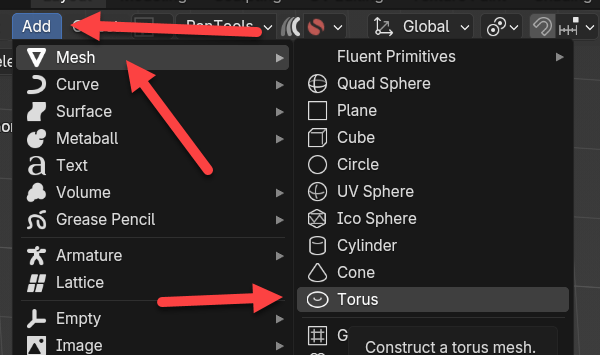
Next, and this is important, do not click anywhere but inside the Torus settings. If you do, it will add the item with the defaults. We first want to change rotation Y to 90 degree to make the torus line up. We then want to adjust the Minor segments to 48 (to match major), and adjust the Major and Minor radius to bulk up the torus (I used 1.5m and .5m). Next you can adjust the X (red), Y (green) and Z (blue) settings to try and line up better. This is something you can also adjust after we add the torus. Click outside or hit enter to add the torus.

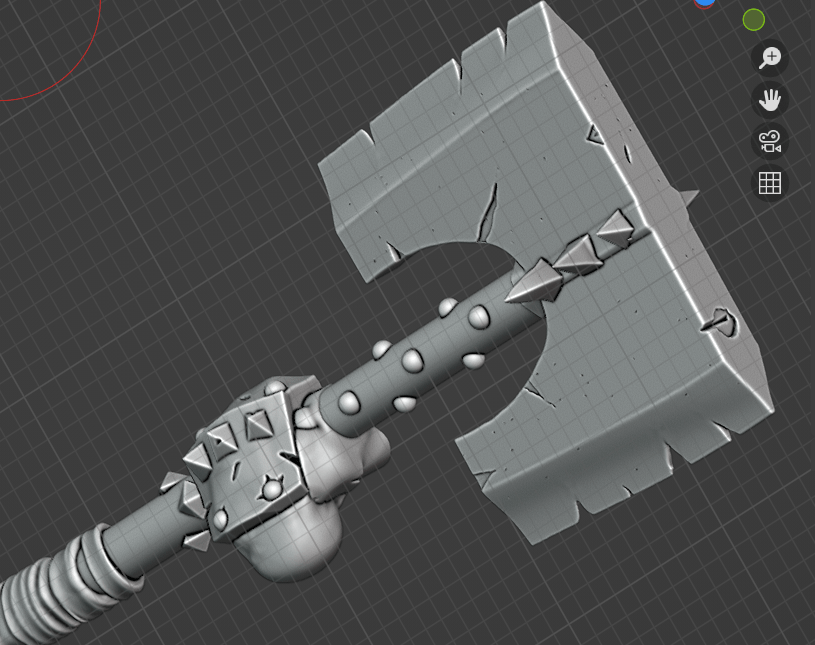
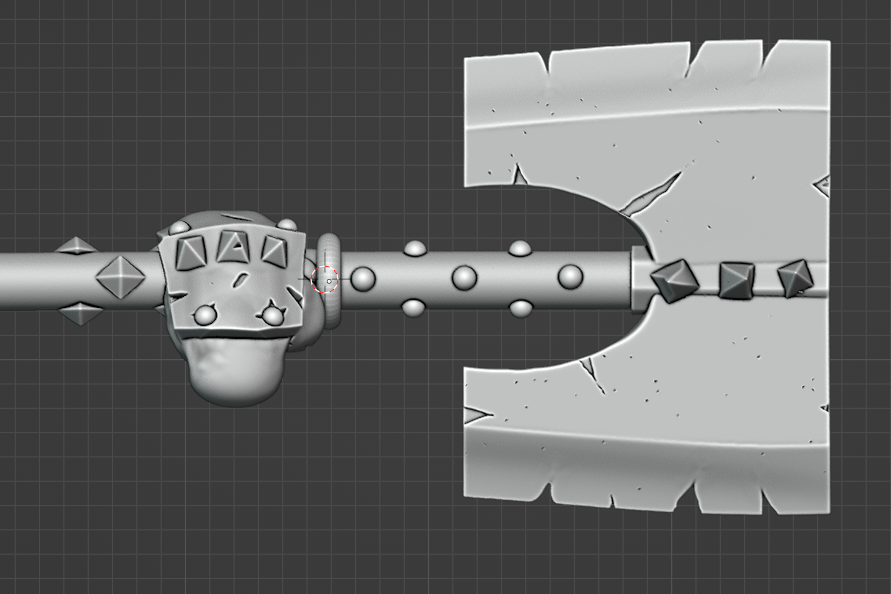
This looks pretty good, and appears like a handgrip on the weapon.
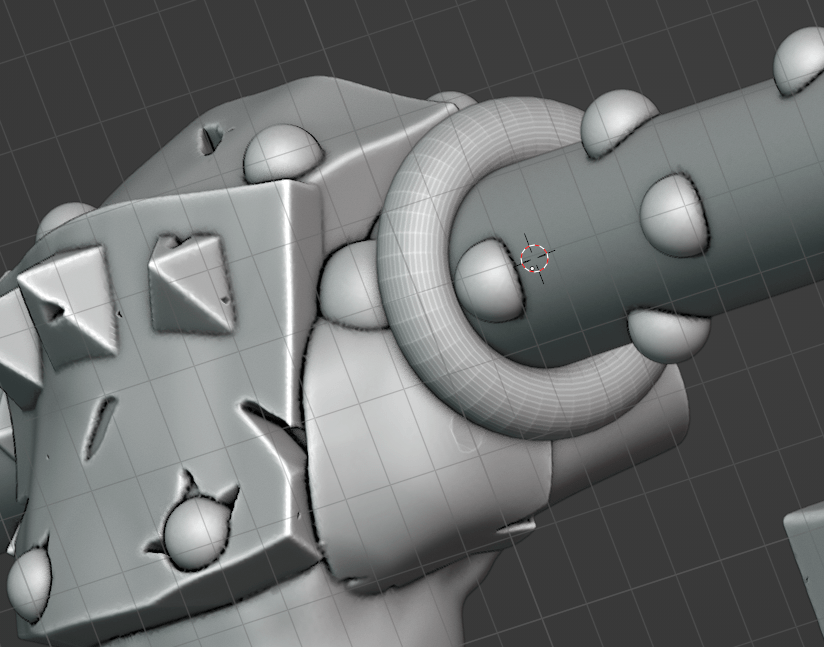
I am happy with this, because it will be very hard to see defects at the size of the miniature. Select both parts and Object-Zoin to make one item.
These methods have a lot of additional options and steps you can do to make the results look even better, but this should give you an idea on how to do quick swaps. The skills you learn doing that will lead into more complex Blender techniques.

Leave a comment