We are going to start our journey of using Blender to edit models by going over a basic weapon swap. Before you do this, do a basic Blender UI/controls Tutorial (Youtube is a good source) so you know how to move items, import stls, and change from object to edit to sculpt modes.
For our example, we are going to swap the handle and hands outlined in red onto the axe head outlined in red.

First, select the top item and switch to Sculpt mode and then select the Box Mask brush
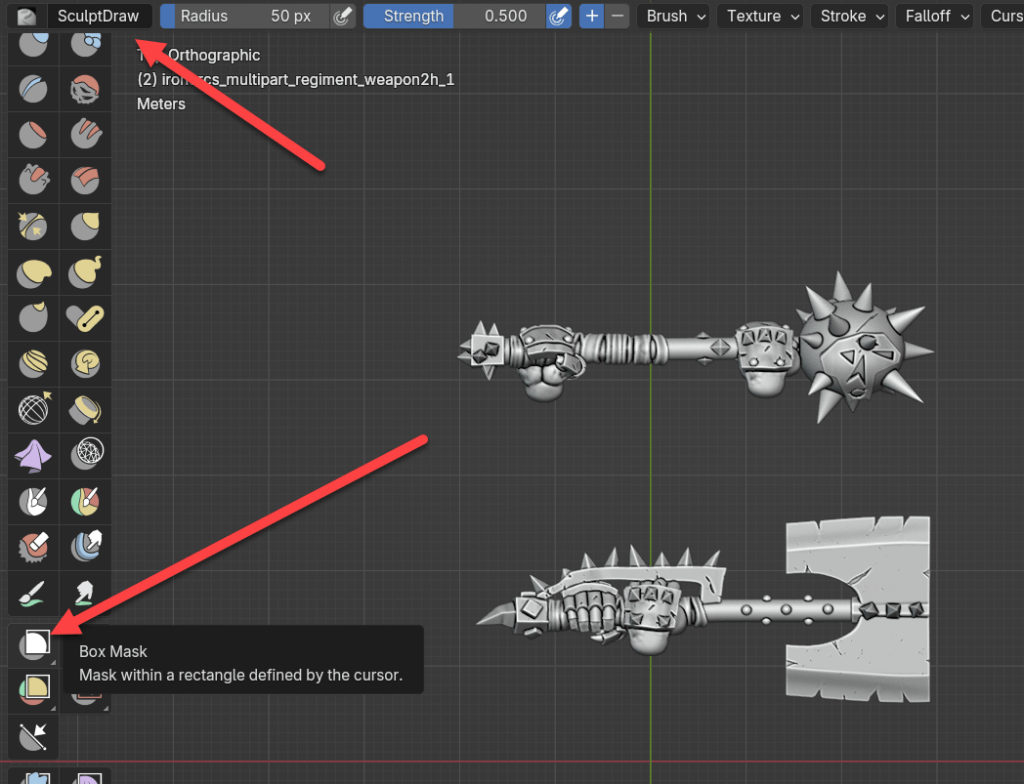
The Box mask lets you draw a boundary box around what you want to cut away.

You may need to select several times. Each time you do, it will add to the selection.


You can also use the Mask Brush for finer selections. I will go into Masking in more detail down the road, or google or search on Youtube.
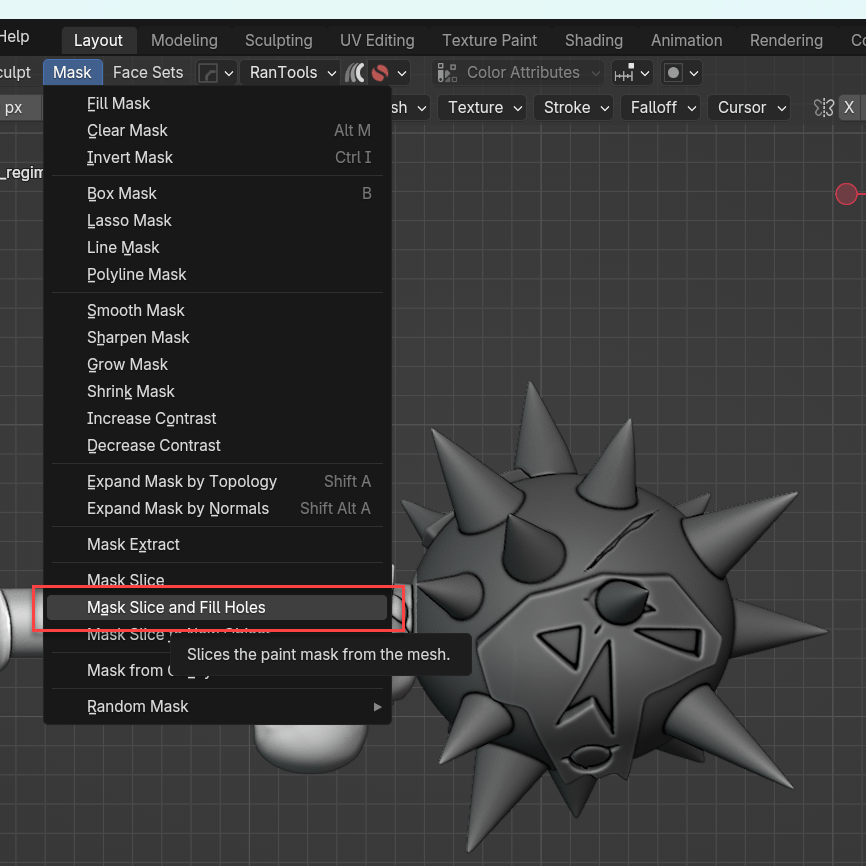
Once you have your desired cutaway area selected, select Mask-Mask Slice and Fill Holes. This will cut away the selected mesh and also ensure you don’t have openings.
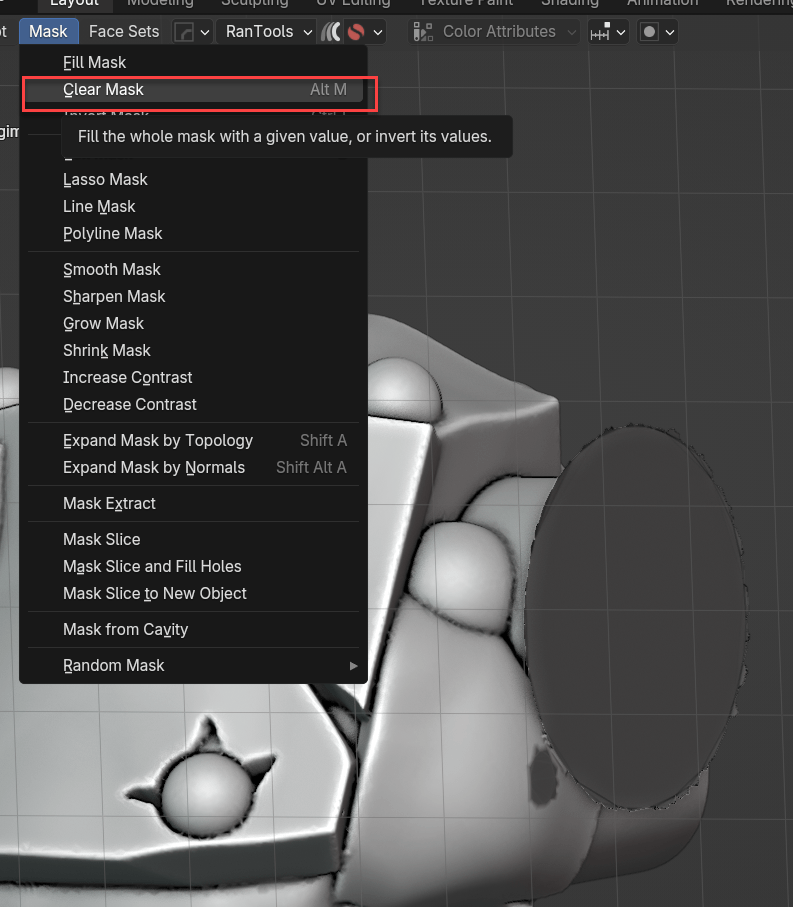
Clear the Mask

You can see there is some extra mesh that will not match up easily with our next piece. How to handle this will be covered in Part 2, but the methods can include remeshing and smoothing away, additional masking and cutting away, or adding additional model items to cover.

Next, go back to object mode, select the other model, switch to Sculpt mode and repeat what you did before and Mask the area you want to remove and Mask Slice and Fill holes.

Move the two pieces into alignment (switching views to ensure it matches up correctly)

Then select both items and use Object-Join to unit into one item.
As mentioned above, we will go into how to clean up the join area in Part 2.

Leave a comment